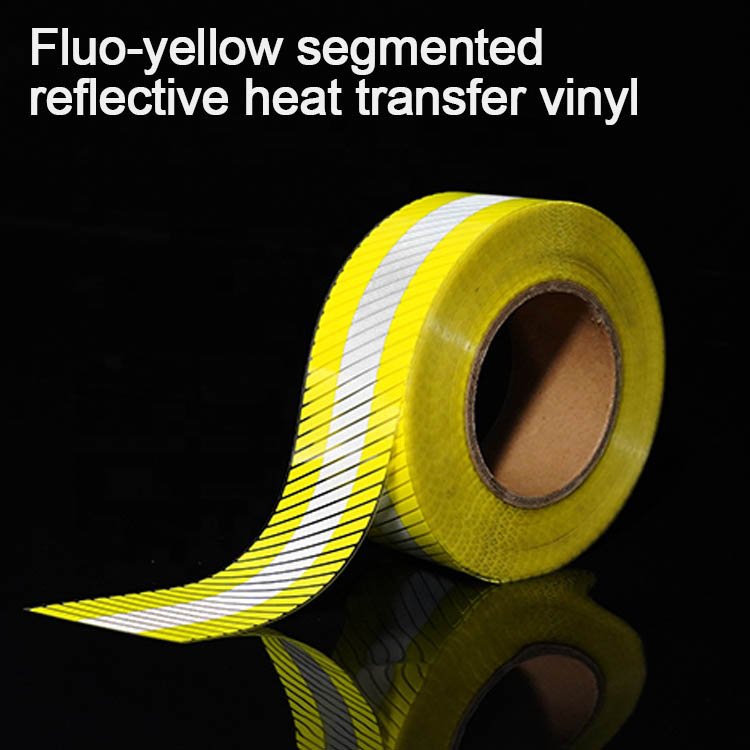
How to Apply Heat Transfer Reflective Film: A Professional Step-by-Step Tutorial
Master the industrial-grade techniques for applying heat transfer reflective film to safety workwear—ensuring durability, compliance, and factory-quality results that survive repeated industrial laundering.
Quick Answer
Applying heat transfer reflective film professionally requires precise temperature control (160-180°C), consistent medium pressure (3-4 kg/cm²), appropriate substrate selection (polyester-rich blends), and a commercial-grade heat press rather than a household iron. The film must cool completely before handling, and durability testing through industrial laundering cycles is essential to ensure compliance with safety standards like EN 20471 and long-term wearability through repeated cleaning.
Why Professional Heat Transfer Application Matters
Your safety workwear isn’t just a uniform—it’s Personal Protective Equipment (PPE) designed to keep workers visible and protected in high-risk environments. When you apply heat transfer reflective film to a safety garment, you’re not simply decorating it. You’re creating a critical safety component that must withstand industrial laundry processes, UV exposure, sweat, and rough handling while maintaining its reflective properties night after night.
The difference between a amateur application and a professional one isn’t just aesthetics—it’s durability and liability. A poorly applied reflective film peels off after three wash cycles, leaving your workers vulnerable and your company exposed to compliance violations. Professional application techniques ensure the film bonds permanently to the garment substrate, maintains reflectivity standards, and represents your commitment to worker safety.
💡 Industry Insight: Studies from workwear manufacturers show that 70% of reflective film failures occur due to improper application technique—specifically incorrect temperature and pressure settings during heat transfer. This is entirely preventable with the right knowledge.
Materials & Equipment Required

Essential Equipment
- ✓ Commercial heat press (minimum 40×50cm platen)
- ✓ Thermometer or heat press with digital display
- ✓ Teflon or silicone pressing cloth
- ✓ Pressure gauge calibrator
- ✓ Sharp cutting tools (rotary cutter or knife)
- ✓ Rulers or cutting mats with measurements
Material Requirements
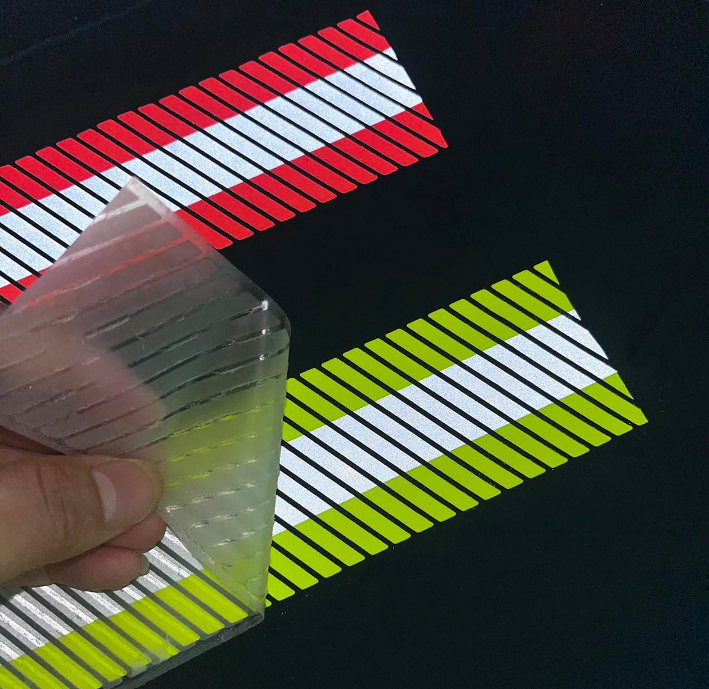
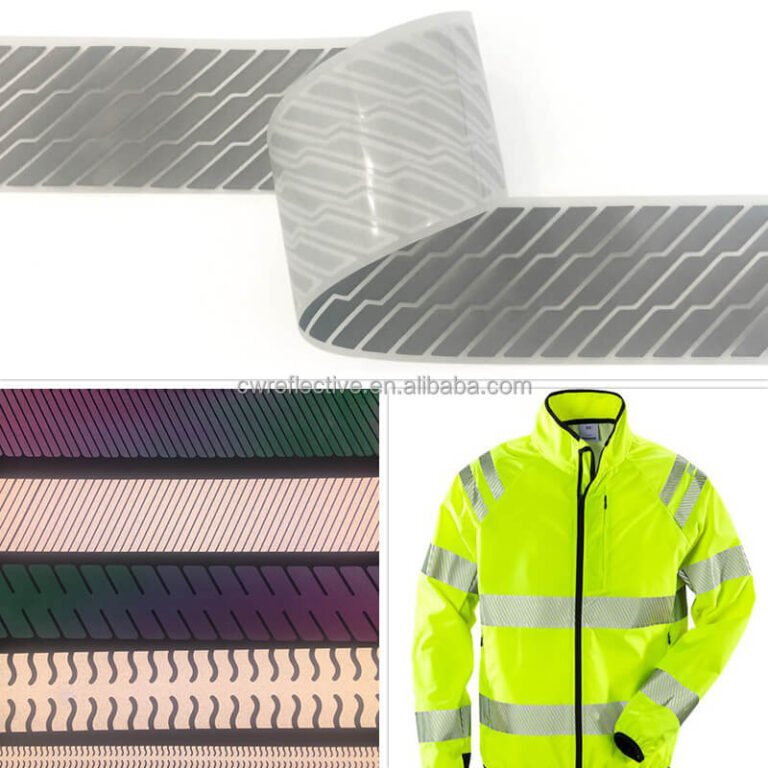
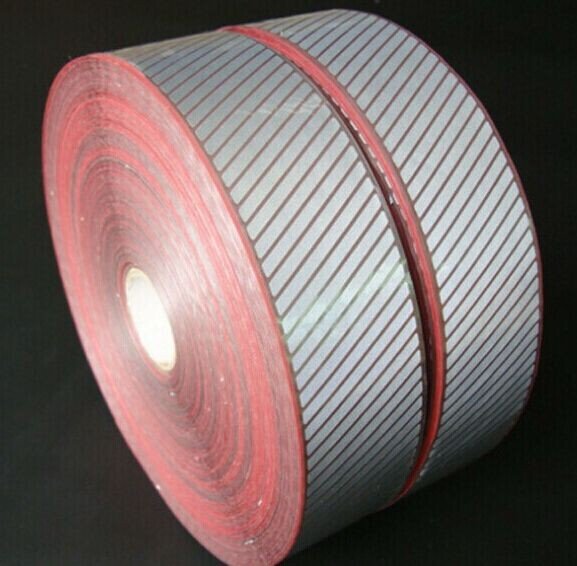
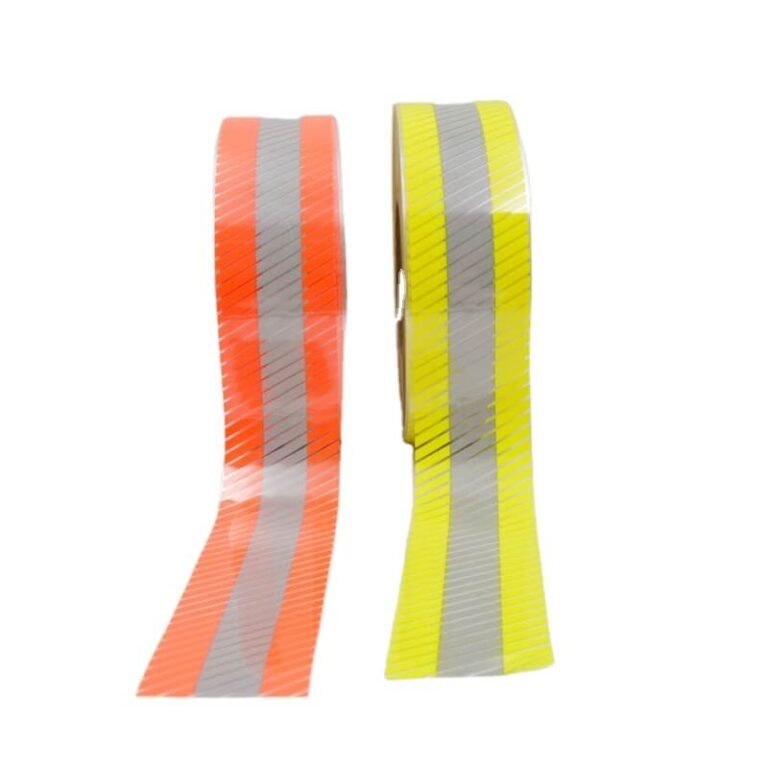
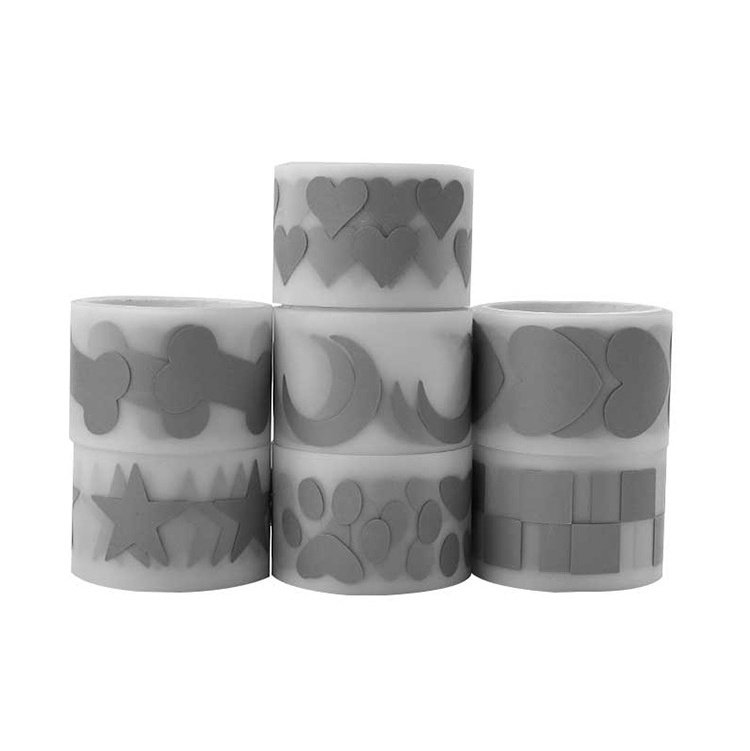
- ✓ Heat transfer reflective vinyl (certified for safety applications)
- ✓ Carrier film (protective backing material)
- ✓ Garment substrate (polyester or poly-cotton blend)
- ✓ Release paper (for cooling protection)
- ✓ Fabric primer (optional, for cotton)
The quality of your starting materials directly impacts your application success. Choose industrial-grade heat transfer reflective films specifically certified for safety workwear, not craft vinyl. These films are formulated with high-performance adhesives and reflective microspheres designed to survive 50+ industrial laundry cycles at temperatures up to 70°C.
Substrate Selection and Preparation
Your fabric choice determines whether the heat transfer reflects properly and adheres durably. The substrate’s fiber content, weave density, and surface preparation are critical success factors that many people overlook.

Best Fabric Choices
- 100% Polyester: Ideal—withstands 180°C without damage, excellent adhesion, industrial-washable
- 65% Polyester / 35% Cotton: Good—combines workwear comfort with chemical stability
- 50% Polyester / 50% Cotton: Acceptable—requires careful temperature control to prevent cotton scorching
Avoid or Use Cautiously
- 100% Cotton: Scorches at 160°C, adhesion problems, shrinkage issues
- Below 50% Polyester blends: Heat sensitivity too high, film adhesion compromised
- Elastane/Spandex blends: Risk of melting at transfer temperatures
Pre-Application Substrate Preparation
Before applying heat transfer reflective film, your garment must be clean and properly prepared:
-
1.
Wash and dry the garment to remove manufacturing oils, dust, and sizing that inhibit adhesion. Use warm water and mild detergent, then dry completely.
-
2.
Pre-press the application area for 5 seconds at your working temperature to remove moisture and wrinkles, ensuring a flat, even surface.
-
3.
Check fabric appearance for defects, pilling, or imperfections that could compromise film application. Reject substrates that don’t meet quality standards.
-
4.
Apply fabric primer (optional) if working with cotton blends—this chemical bridges the gap between cotton fibers and polymer adhesives, significantly improving durability.
Temperature and Pressure Specifications
Temperature and pressure are the two variables that determine whether your reflective film bonds permanently or fails after a few washes. These aren’t suggestions—they’re precision specifications that must be measured and confirmed with instruments, not guessed.
Standard Heat Transfer Specifications
Temperature
160–180°C
320–356°F
Pressure
3–4 kg/cm²
Medium firm
Dwell Time
10–15 sec
Consistent duration

⚠️ Critical Calibration Warning
Many heat presses have calibration drift. A press showing 170°C might actually be 155°C or 185°C depending on age and maintenance. Before production runs, calibrate your heat press using an independent surface thermometer to verify actual platen temperature.
Temperature variance: If your press reads 170°C but is actually 165°C (5°C below spec), adhesion fails. If it’s 175°C (5°C above spec), the reflective microspheres deteriorate. This explains why small batches succeed while larger production runs fail.
Variable Specifications by Film Type
Always reference your specific film manufacturer’s datasheet, as different formulations vary:
Segmented Reflective Films (Most Common)
170°C | 3.5 kg/cm² | 12 seconds | Ideal for safety workwear, EN 20471 compliant
Glass Bead Films (Premium, Higher Visibility)
180°C | 4 kg/cm² | 15 seconds | Higher light return, requires more precise control
Elastic Reflective Films (Stretch Garments)
160°C | 3 kg/cm² | 10 seconds | Lower temperature to prevent adhesive cure issues
Step-by-Step Application Process
Step 1: Prepare Your Design and Film
Cut your design precisely: Use a rotary cutter or heat transfer vinyl cutting machine to cut your reflective film design accurately. Leave no excess material around edges—loose pieces will catch during pressing.
Weeding: Remove all unwanted vinyl from the carrier film using a weeding tool. This is tedious but essential—any remnant will create adhesion problems.
Layer stacking: If using multiple colors or complex designs, layer films precisely and tape with low-tack tape to prevent shifting during heat transfer.
Step 2: Position Film on Garment
Mark placement with carrier film: Use the carrier sheet to position your design exactly where it should go on the garment. Use measuring tools and alignment marks to ensure professional positioning.
Tape to prevent shifting: Use low-tack transfer tape or temporary spray adhesive to secure the film to the garment. The film must not shift during pressing.
Place on heat press platen: Carefully position the garment with applied film on the lower platen, ensuring the pressing area is flat and wrinkle-free.
Step 3: Apply Heat Transfer Pressure
Protect with pressing cloth: Place a Teflon or silicone cloth between the upper platen and film to prevent the platen from directly contacting the reflective material.
Lower upper platen and apply pressure: Gently lower the upper platen onto the garment. Apply slow, even pressure to avoid creating air pockets or uneven contact.
Confirm pressure reading: Check your heat press pressure gauge to verify you’re at 3-4 kg/cm². Don’t estimate.

Step 4: Monitor Dwell Time Precisely
Use timer function: Modern heat presses have built-in countdown timers. Don’t estimate time—use the timer.
Maintain consistent temperature: During the dwell period (10-15 seconds), temperature must remain constant on the platen. Digital displays help confirm this.
Optimal dwell timing: For most films, 12 seconds at 170°C provides complete adhesive flow and bond formation without degrading reflective properties.
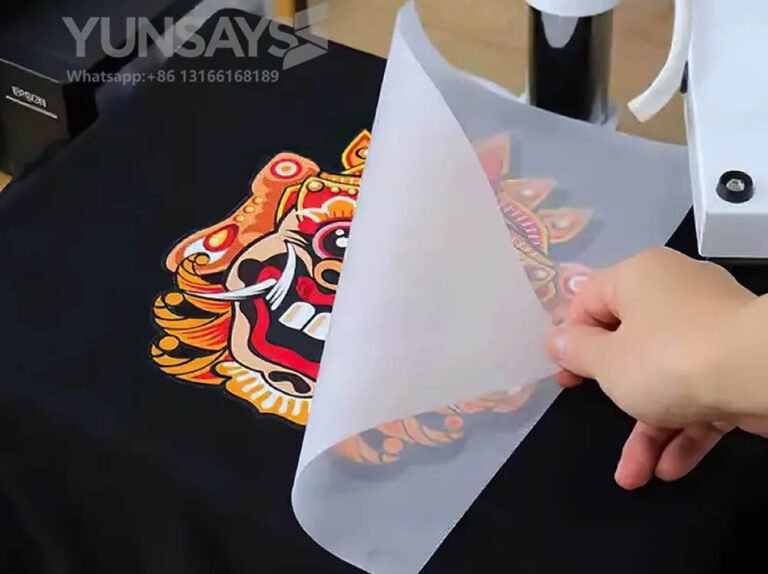
Step 5: Release Carrier Film (Optional Hot Peel)
Cold peel vs. hot peel: If your film allows hot peel, remove the carrier film while the garment is still on the press and still warm. This can improve adhesion on some substrates.
Direction matters: Peel the carrier film back at a 45-degree angle, not straight up, which transfers stress to the adhesive bond.
Listen for crackling: A soft crackling sound during peel indicates proper adhesive activation and release. Silence or loud cracking suggests temperature or time issues.
Cooling and Post-Application Care
The cooling phase is where adhesive bonds become permanent. This stage is often overlooked but is absolutely critical to durability.
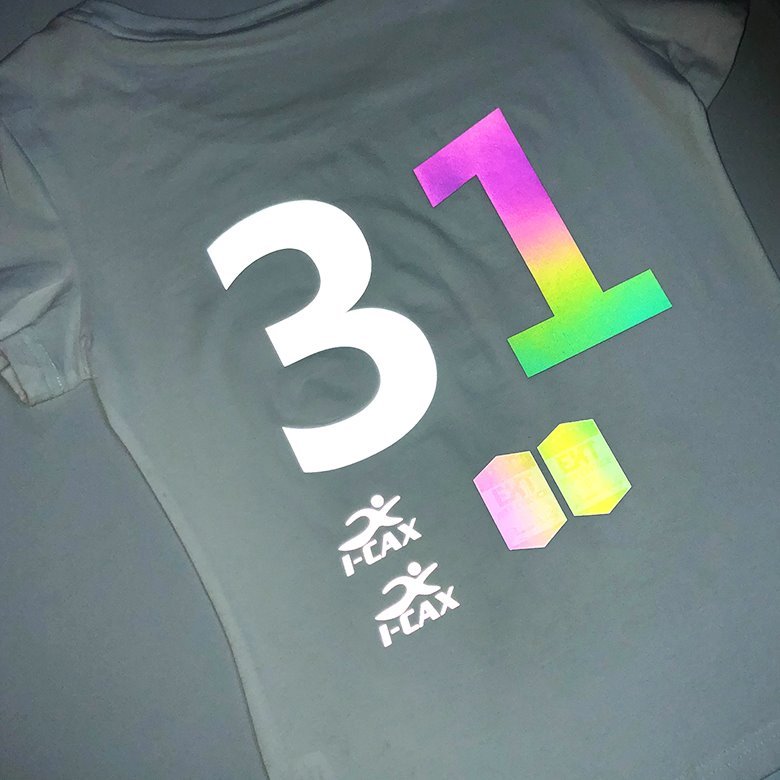
The Cooling Protocol
-
1
Remove from heat press: Carefully lift the upper platen. Support the garment to prevent the film from shifting while still warm.
-
2
Place on flat surface: Transfer the garment to a flat cooling rack or table—not draped over a hanger. Gravity can pull on the warm adhesive and cause delamination.
-
3
Cool naturally: Leave the garment undisturbed for at least 30 minutes while the adhesive polymerizes and thermally equilibrates. Resist handling during this period.
-
4
Accelerate cooling (optional): After 5 minutes of ambient cooling, you can use a fan to gently cool the garment to room temperature. This speeds production without compromising adhesion.
✓ Industry Best Practice: 24-Hour Cure Time
For mission-critical safety workwear that will face industrial laundering, wait 24 hours before washing or wearing the finished garment. This extended cure allows the adhesive to achieve maximum crosslinking strength—the adhesive bond can increase in strength by 10-15% during the first 24 hours after application.
This isn’t just theory—manufacturers who follow this protocol report 30-50% fewer adhesion failures during wash testing.
First Wash Recommendations
When first washing the completed garment, follow strict protocols:
- • Use mild detergent: Harsh detergents can attack polyurethane adhesive. Use standard workwear detergent.
- • Water temperature: 40°C (104°F) maximum for first wash. Gradually increase to standard 60°C washing in subsequent cycles once adhesion is confirmed.
- • Turn garment inside-out: This protects the reflective design during agitation wash cycles.
- • Avoid fabric softeners: These reduce adhesive bonding strength during subsequent washes.
- • Air dry initially: Avoid machine drying for the first 3 washes. Heat combined with mechanical agitation can cause adhesive degradation before complete cure.
Compliance and Durability Testing
Professional safety workwear requires verification that your applied reflective film meets industry standards. You cannot assume compliance—you must test it.
Key Standards for Safety Reflective Workwear
EN ISO 20471 (Europe)
High-visibility warning clothing. Requires retroreflectance values and color requirements. Your applied film must maintain these values through 50+ wash cycles.
ANSI/ISEA 107 (North America)
American standard for high-visibility apparel. More rigorous wash durability testing than EN 20471—requires maintenance of reflectance after 25 and 50 wash cycles.
AS/NZS 1906.4 & 4602.1 (Australia/NZ)
Specifies reflectance retention after washing, especially important for industrial garments that face frequent, hot laundering.
In-House Testing Protocol
While full certification testing requires a testing laboratory, you should perform basic durability verification:
Adhesion Test (Peel Strength)
After cooling, attempt to peel the film edge with a quick motion. Professional application should result in no peeling. If film lifts easily, temperature or pressure was insufficient.
Wash Durability Test (Simplified)
Wash 3-5 test samples at 60°C with industrial detergent. Inspect for peeling, cracking, or loss of reflectance. ISO 3175 describes the formal test procedure.
Retroreflectance Check
Use a simple retroreflectometer (hand-held retroreflectance measurement device, ~$500-1000) to verify that reflectance meets minimum values. Professional suppliers like Color Instruments offer these tools.
Color Fastness Test
Machine wash and check for color fading or cross-staining. Reflective films with poor dye formulations fade after 10-15 washes—quality films stay vibrant for 50+ cycles.
When to Use Professional Testing Labs
For larger production runs or critical applications (railway crews, highway maintenance), engage a certified testing laboratory like TÜV Rheinland or SGS to perform formal compliance testing. Cost: €200-500 per batch, but provides certification and liability protection.
Common Mistakes and Solutions
❌ Mistake #1: Using a Household Iron Instead of Heat Press
Problem: Irons cannot deliver uniform pressure. The tip presses hard while the heel barely touches, resulting in inconsistent adhesive flow and adhesion failures.
Solution: Invest in a commercial heat press (40×50cm minimum). Initial cost is offset by the elimination of defective garments.
❌ Mistake #2: Guessing Temperature Settings
Problem: “It looks right” isn’t acceptable. A press displaying 170°C might actually be 160°C (too cool, won’t adhere) or 180°C (too hot, degrades reflective microspheres).
Solution: Calibrate your heat press monthly using an independent surface thermometer. Document temperatures in a production log.
❌ Mistake #3: Inconsistent Dwell Time
Problem: “Yeah, about 10 seconds” isn’t precise enough. Adhesive needs complete flow time (typically 12 seconds). Too little time = incomplete bond. Too long = wasted time and unnecessary heat exposure.
Solution: Always use the heat press timer. Program it for your specific film (usually 12 seconds). Never estimate.
❌ Mistake #4: Insufficient Cooling Time
Problem: If you wear or wash the garment while the adhesive is still partially soft, the film can peel before the bond fully cures.
Solution: Enforce the 24-hour cure protocol for critical applications. Minimum 30 minutes on a flat surface before handling.
❌ Mistake #5: Wrong Substrate Fabric
Problem: 100% cotton scorches at 160°C and has poor adhesive compatibility. The film might adhere initially but fails in first wash when the adhesive bridge weakens on the cotton surface.
Solution: Specify minimum 65% polyester content for all safety workwear. Test any new fabric supplier’s substrates before production.
❌ Mistake #6: Dirty or Oily Substrate
Problem: Manufacturing oils, dust, or sizing on the garment surface act as a barrier between the adhesive and fibers. The film seems attached initially but delaminate during washing.
Solution: Pre-wash all garment blanks. Pre-press immediately before applying film to remove moisture and ensure a clean, flat surface.
❌ Mistake #7: Platen Pressure Settings Not Verified
Problem: Many operators don’t measure pressure—they just apply “normal” force. This creates batch-to-batch inconsistency and unpredictable failures.
Solution: Use a calibrated pressure gauge. Verify pressure settings before each production shift. Document all pressure readings.
Frequently Asked Questions
Can I apply heat transfer reflective film to 100% cotton t-shirts? ▼
Technically possible but not recommended for safety workwear. Cotton scorches at 160°C, and the adhesive bond is weak on pure cotton fibers. If you must use cotton, apply fabric primer first to create a chemical bridge between adhesive and fibers. Even then, durability is compromised. For professional safety applications, insist on polyester or poly-cotton blend substrates.
How many washes will my reflective film survive? ▼
High-quality heat transfer reflective film applied at correct temperature and pressure should survive 50+ industrial washes (60°C with industrial detergent) while maintaining adhesion and reflectance. Budget-grade films may fail after 10-15 washes. After warranty period (typically 50 cycles), gradual adhesive degradation occurs, but with proper care many garments exceed 100 wash cycles.
Why does my reflective film peel even though I followed the temperature settings? ▼
Most common causes: (1) Your heat press is miscalibrated and running cooler than displayed; (2) Insufficient dwell time—the adhesive didn’t fully flow; (3) Dirty or oily substrate that prevents adhesive bonding; (4) Premature washing before 24-hour cure; (5) Wrong fabric type that’s incompatible with the adhesive. Troubleshoot in this order: calibrate press, increase dwell time to 15 seconds, pre-wash and pre-press garments, then verify substrate fiber content.
Is there a difference between “craft” heat transfer vinyl and safety-grade reflective film? ▼
Absolutely. Craft vinyl is polyvinyl chloride (PVC) with basic adhesive—designed to survive maybe 10-15 home washes. Safety-grade reflective film uses polyurethane adhesive with certified reflective microspheres engineered to survive 50+ industrial wash cycles and maintain retroreflectance values per EN 20471 or ANSI 107. Never use craft vinyl for safety workwear—it violates compliance standards and creates liability.
Should I use the heat press at maximum pressure for stronger adhesion? ▼
No. More pressure doesn’t equal better adhesion—there’s an optimal range (3-4 kg/cm²). Excessive pressure actually squeezes adhesive out from under the film, leaving insufficient bonding agent. It can also deform the reflective microspheres, reducing reflectance. Stick to manufacturer specifications. More pressure ≠ better results.
Can I stack multiple garments in the heat press at once? ▼
Never. Stacking creates uneven temperature distribution. The bottom garment may overheat while the top garment under-cools. Pressure also becomes unpredictable. Always press single garments or multiple films on one garment layer. This requires discipline but ensures quality consistency.
Ready to Apply Professional Heat Transfer Reflective Film?
Master these techniques and partner with a trusted reflective material supplier to create compliant, durable safety workwear that protects your workers and represents your commitment to safety standards. Get expert consultation on film selection, substrate requirements, and compliance verification.
Get Professional Guidance →Learn More About Professional Reflective Materials
Now that you understand the application process, explore the science of reflective film technology and how our industrial-grade heat transfer films are engineered for durability and compliance. Learn about different film types, performance specifications, and customization options that make reflective films the backbone of professional safety workwear.
Explore Our Reflective Films Catalog →Conclusion: Professional Application = Safe Workers
Heat transfer reflective film application isn’t complicated, but it requires precision, attention to detail, and the right equipment. The difference between a failed batch and a successful production run often comes down to small details: proper heat press calibration, consistent temperature and pressure control, appropriate dwell time, and patient cooling protocols.
When you apply these principles professionally, you’re not just creating a garment—you’re creating Personal Protective Equipment that could save lives. Workers wearing your well-executed reflective safety workwear are visible to drivers and machinery operators in low-light conditions. That visibility is the difference between “seen and safe” and tragedy.
Invest in quality materials, calibrate your equipment, follow specifications precisely, and test durability before shipping. Your workers—and your bottom line—will thank you.
Key Takeaways
- ✓ Use a commercial heat press with calibrated temperature and pressure gauges—household irons cannot deliver professional results
- ✓ Follow manufacturer specifications: typically 170°C, 3-4 kg/cm², 12 seconds—document everything
- ✓ Choose polyester or poly-cotton substrates; avoid 100% cotton for safety applications
- ✓ Pre-wash and pre-press all garments to remove oils and moisture before film application
- ✓ Cool finished garments flat for minimum 30 minutes, preferably 24 hours, before wearing or washing
- ✓ Test durability through wash cycles and verify compliance with relevant standards (EN 20471, ANSI 107, etc.)