How to Prepare Your Artwork for Custom Reflective Logo Printing
Quick Answer
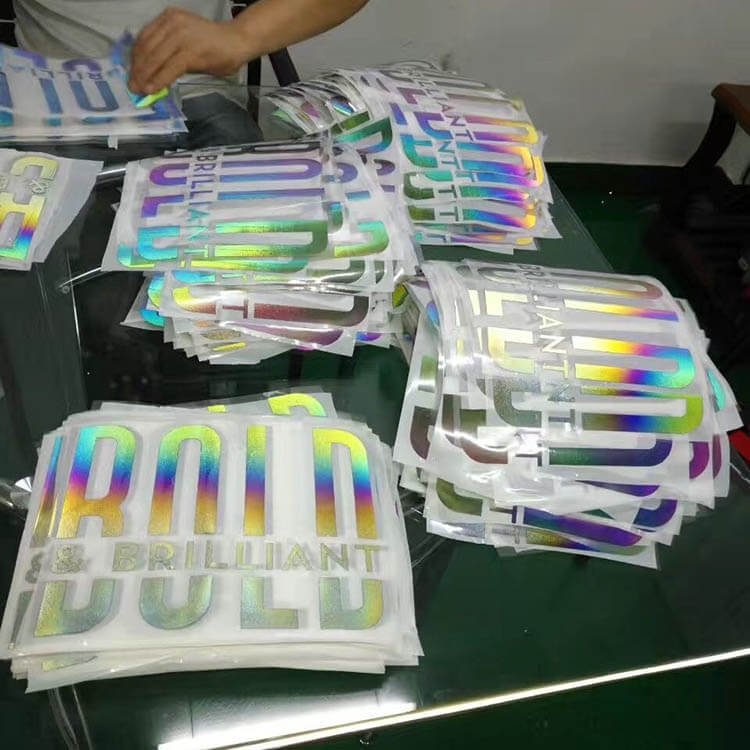
Preparing artwork for custom reflective logo printing requires submitting vector-based files (preferably .AI, .EPS, or .PDF) with a minimum of 300 DPI for any raster elements, clear color specifications in CMYK mode, and simplified, bold designs free of intricate details or text smaller than 2-3mm. Unlike traditional screen printing, reflective logo printing is a physical heat-transfer or cutting process where fine lines and delicate details often fail to survive production or post-wash durability testing. The most critical mistake brands make is submitting low-resolution JPG or PNG files, which manufacturers cannot scale or prepare properly, resulting in poor-quality logos that compromise both safety visibility and brand reputation. To ensure professional results, work with your manufacturer’s design templates, provide multiple mockups showing exact placement on garments, and communicate your design complexity early—allowing time for design modifications if needed before production begins.
Why Artwork Preparation Matters for Reflective Logos
In my 15+ years of manufacturing hi-vis apparel and working with brands worldwide, I can tell you with absolute certainty: the single biggest point of friction in custom reflective logo production isn’t price or lead times—it’s artwork. This statement isn’t exaggeration; it’s documented across thousands of client interactions and production troubleshoots.
When clients see their beautiful, full-color-gradient logo rendered on their computer screen, they naturally assume it can be magically transformed into a brilliantly reflective emblem on a safety vest. But reflective printing isn’t like printing on paper; it’s a physical process of cutting and heat-applying a specialized material. This fundamental difference creates a disconnect between what designers imagine and what manufacturing can deliver.
Submitting poorly prepared artwork causes delays, increases costs, and delays shipping. More importantly, it can result in logos that peel after just a few washes, destroying your brand’s visual impact and potentially compromising the garment’s safety integrity. By understanding how to properly prepare your artwork upfront, you eliminate 80% of production problems before they occur.
Vector vs. Raster: Understanding File Formats
This is the foundation of everything. If you understand nothing else, understand this: vector files are non-negotiable for reflective logo printing.
Vector Format Files (.AI, .EPS, .PDF)
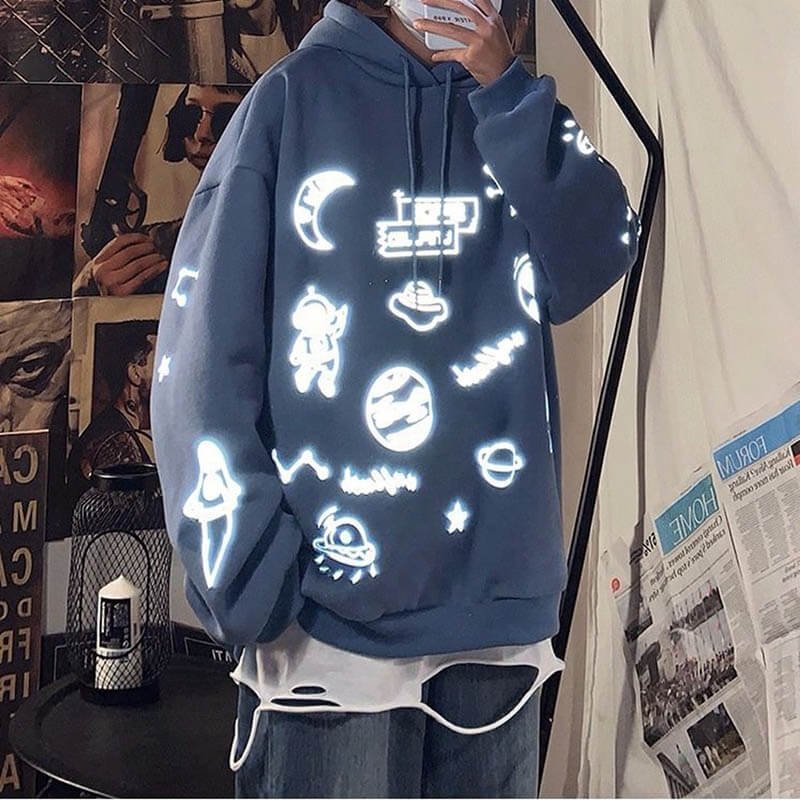
Vector files use mathematical equations and geometric shapes to create images. Instead of storing pixel-by-pixel color information, they store instructions: “Draw a line from point A to point B with this color and thickness.” This approach offers several critical advantages:
- ✓ Infinite Scalability: Scale from a postage stamp to a billboard without any quality loss. Perfect for logos needed on different garment sizes.
- ✓ Precise Cutting: Manufacturers use cutting plotters that read vector paths exactly, ensuring clean, crisp edges on reflective material.
- ✓ Color Separation: Easy to separate colors for multi-color reflective logos using different material types.
- ✓ File Size: Significantly smaller files than raster equivalents, making them fast to transmit and process.
Raster Format Files (.JPG, .PNG, .BMP)
Raster files are grid-based images made of individual pixels, each with its own color value. Think of them like a mosaic—beautiful from a distance, but composed of discrete tiles. For reflective logo printing, raster formats present serious problems:
- ✗ Pixelation on Scaling: Enlarging a low-res JPG results in jagged, pixelated edges—unsuitable for professional logos.
- ✗ Loss of Detail: Manufacturers cannot accurately separate colors or create clean cut paths from raster files.
- ✗ Compression Artifacts: JPG compression introduces noise, making it unpredictable for precision cutting.
- ✗ Cannot Be Modified: Difficult to adjust colors, refine details, or prepare for multiple garment placements.
Pro Tip: If your logo only exists in JPG/PNG format, professional designers can convert it to vector using tracing software like Adobe Illustrator’s Image Trace or Corel Draw. This costs extra, but it’s faster than redesigning from scratch.
Essential File Specifications & Requirements
Once you’ve committed to vector format, the next step is ensuring your files meet the technical specifications required for flawless production. Here’s the complete breakdown:
File Format Requirements
Color Mode Specifications
Always provide files in CMYK color mode (Cyan, Magenta, Yellow, Black), not RGB. RGB is designed for screens and will render differently when converted to print. Additionally:
- ◆ Attach a Pantone color reference chart if specifying exact spot colors
- ◆ Specify which reflective material color you need (silver, white, amber, red, etc.)
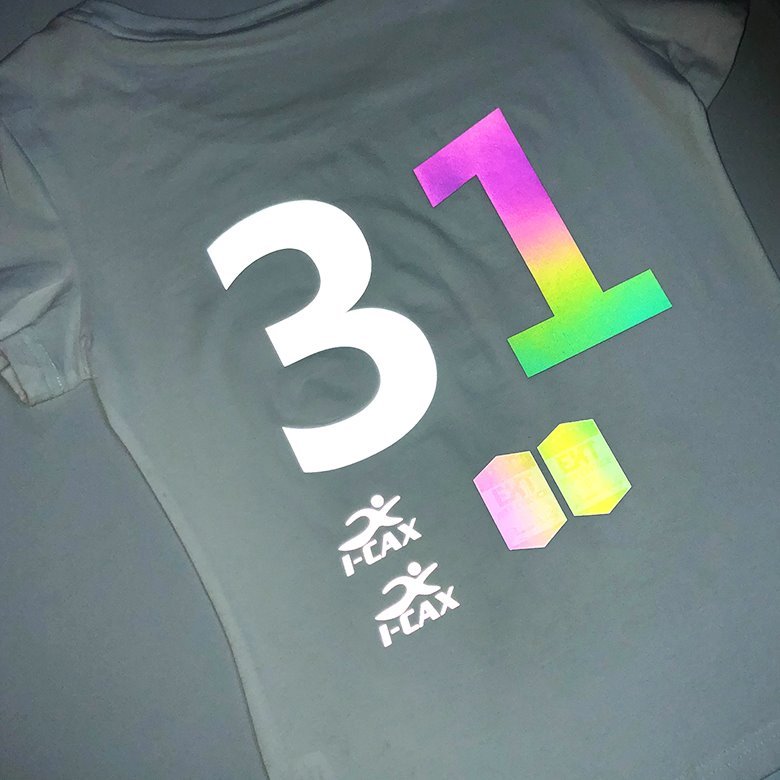
- ◆ Avoid using gradients in reflective logos—they’re difficult to reproduce in reflective materials
Resolution for Any Raster Elements
While vectors don’t have resolution requirements, some logos may contain small raster elements (photos, complex textures). These must be:
- ◆ Minimum 300 DPI at final print size
- ◆ Embedded within the vector file (not linked externally)
- ◆ Provided at 1:1 scale or larger—never reduce resolution for smaller file size
File Naming & Organization
A simple detail that prevents confusion and errors:
Good: YourBrand_Logo_Reflective_Final.ai
Avoid: logo_v2_FINAL_REAL_v3_UPDATE.ai
Design Best Practices for Reflective Printing
This is where the art meets the science. Understanding the constraints of the reflective printing process allows you to design logos that are both beautiful and producible. Here’s the philosophy: Think “bold, clean, and purposeful.”
1. Line Weight and Complexity
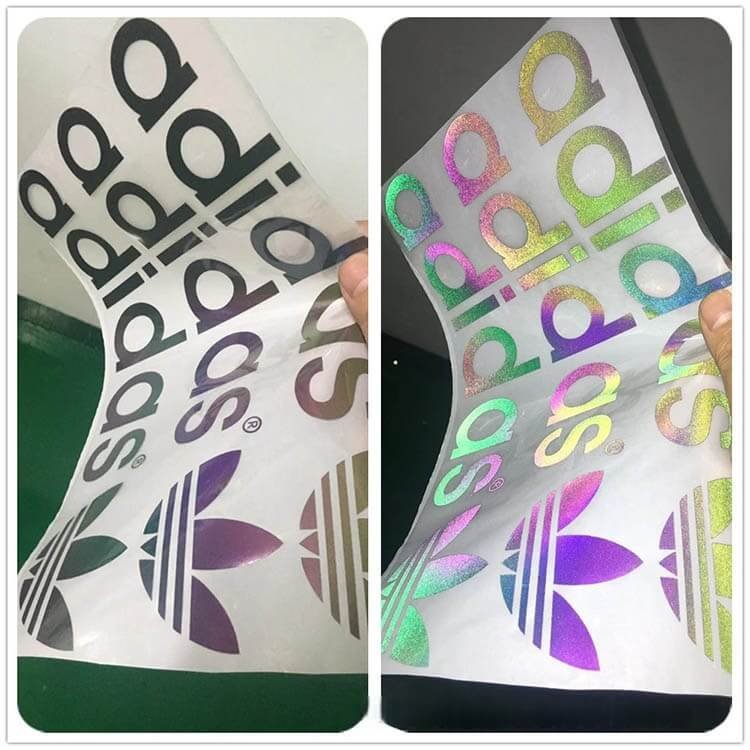
Rule: Never use lines thinner than 1mm or details finer than 2-3mm. During production, manufacturers use cutting plotters to separate colors and cut reflective material. Lines finer than this threshold will either:
- • Fail to “weed” properly (removal of excess reflective material)
- • Tear or curl during heat application
- • Peel after just two or three washes
The best logos for reflective printing are bold, geometrically clean, and instantly recognizable—not intricate or delicate.
2. Text and Typography
If your logo includes text, these guidelines are critical:
- ◆ Text size must be minimum 0.5cm (5mm) in height for legibility
- ◆ Use sans-serif fonts or heavy serif fonts; delicate serifs will disappear in reflective material
- ◆ Avoid script or cursive fonts—they’re nearly impossible to weed and often peel
- ◆ If text is part of the design, convert it to outlines/paths in your vector software before sending to the manufacturer
3. Color Separation
Reflective logos typically use 2-4 separate material colors (e.g., silver + white + red). For each color layer:
- ◆ Create separate layers in your vector file for each color
- ◆ Name each layer with the reflective material color it represents
- ◆ Ensure colors don’t overlap in confusing ways (unless intentional)
- ◆ Keep contour lines clean and unambiguous
4. Contrast and Visibility
The whole point of reflective logos is visibility in low-light conditions. Design with this in mind:
- ◆ Silver reflective material reflects brilliantly but requires contrast
- ◆ Test your design on a mock garment image to ensure it reads clearly from a distance
Common Mistakes & How to Avoid Them
Based on thousands of production interactions, here are the mistakes that cause the most delays and rework:
❌ Mistake #1: Submitting Low-Resolution JPG Files
What happens: Manufacturers cannot enlarge the file without pixelation. Hours are spent attempting to trace and convert the file, or your order sits in a queue waiting for clarification.
Solution: Always submit native vector files (.AI, .EPS, or .PDF). If you only have JPGs, contact your designer immediately for vector conversion.
❌ Mistake #2: Overly Complex or Tiny Details
What happens: Intricate details fail to cut cleanly. After application, logos look fuzzy or incomplete. Multiple washes cause threads to unravel or material to peel.
Solution: Simplify your design. If your corporate logo has ornate details, create a simplified “reflective-safe” version specifically for hi-vis apparel.
❌ Mistake #3: RGB Color Mode Instead of CMYK
What happens: Your neon-bright design file looks completely different when converted to CMYK by the manufacturer. Complaints about color accuracy follow.
Solution: Export your files in CMYK before sending. Include Pantone references to lock in exact colors.
❌ Mistake #4: Insufficient Placement Information
What happens: Your logo ends up in the wrong location on the garment, or the production team guesses and gets it wrong. Entire production batches have to be redone.
Solution: Provide detailed placement specifications—distance from shoulder seams, front/back positioning, height from hem. Include physical mockups if possible.
❌ Mistake #5: Assuming Small Changes Are Free
What happens: You submit artwork, production begins, then you request “one small change” to the design. This can delay production by days or weeks.
Solution: Review and finalize your design specification document before submitting. Build in time for feedback and iterations during the design phase, not production.
Pre-Submission Checklist
Before sending your artwork to your manufacturer, run through this checklist to catch issues early:
Frequently Asked Questions
What file formats are best for reflective logo printing? ▼
Vector formats like .AI (Adobe Illustrator), .EPS (Encapsulated PostScript), and .PDF are ideal for reflective logo printing. These formats use mathematical equations rather than pixels, allowing unlimited scaling without quality loss—essential for reflective material applications where precision matters. They enable manufacturers to separate colors accurately and cut the reflective material with precise edges.
Why can’t I submit JPG or PNG files for reflective logo printing? ▼
JPG and PNG are raster formats made of pixels. When printing reflective logos, manufacturers need precise color separation and clean edges—tasks that raster formats cannot deliver reliably. Low-resolution JPGs especially cannot be enlarged without pixelation, leading to poor-quality printed logos that may peel or fail quality control. Additionally, raster formats lose quality when compressed, introducing artifacts that interfere with cutting accuracy.
What resolution specifications should I follow? ▼
For vector files, resolution is not a concern since they scale infinitely. For any raster elements embedded in the vector file, maintain minimum 300 DPI (dots per inch) at the final print size. This ensures crisp, clear printing on reflective materials. Always provide files at 1:1 or larger—never scale down to reduce file size, as this permanently reduces quality.
How should I design logos specifically for reflective printing? ▼
Design with bold, clean shapes and avoid fine lines, intricate details, or small text. Reflective materials use a physical heat-pressing or cutting process—not traditional printing. Elements smaller than 2-3mm may not survive the production process or washing. Simplify your design for maximum durability and visibility. Think of it as designing for a cutting plotter, not an inkjet printer.
What color formats should I use when submitting artwork? ▼
Always use CMYK color mode for print files (not RGB). RGB is designed for screens and will render differently when converted for print. Include a Pantone reference if submitting spot color designs. Provide a color specification sheet detailing exact reflective material colors needed—silver, white, amber, red, or custom options available from your manufacturer.
How do I provide artwork placement and spacing information? ▼
Include clear dimensions and placement specifications in your design brief. Use layers in your vector file to separate design elements and background. Provide mockups showing exactly where the logo should appear on the garment (front, back, sleeve). Include at least 0.5cm margin from edges to prevent cutting or alignment issues. Creating a detailed “artwork specification sheet” prevents miscommunication and production delays.
Ready to create perfect reflective logos for your hi-vis apparel?
Our design team at VizGlo Safety specializes in preparing artwork for reflective printing. We’ll review your files, offer design recommendations, and ensure your logo is production-ready before manufacturing begins. Get expert guidance tailored to your specific project requirements.
Get Your Artwork Professional ReviewExplore Our Reflective Logos Product Line
After you’ve perfected your artwork using the guidelines above, discover how our advanced custom reflective logo manufacturing process transforms your designs into durable, high-visibility safety emblems. We handle everything from color separation to quality testing.
Additional Resources
- • Adobe: Understanding Raster vs. Vector Graphics
- • Pantone Color Reference Database
- • Understanding DPI (Dots Per Inch) in Print Production
- • CMYK Color Model for Print Applications
- • ISO 20471: High-Visibility Safety Clothing Standards
- • ANSI/ISEA 107 Safety Apparel Standards
- • OEKO-TEX® STANDARD 100: Textile Safety Certification
The Path Forward
Preparing artwork correctly isn’t just about meeting technical requirements—it’s about respecting the manufacturing process and getting better results. When you submit production-ready files, you eliminate delays, reduce costs, and receive logos that look professional and last through countless wash cycles. Your team will look sharper, work safer, and reflect your brand’s commitment to quality. Ready to take the next step? Let our design experts review your project, or learn more about our comprehensive reflective logo manufacturing and customization services.