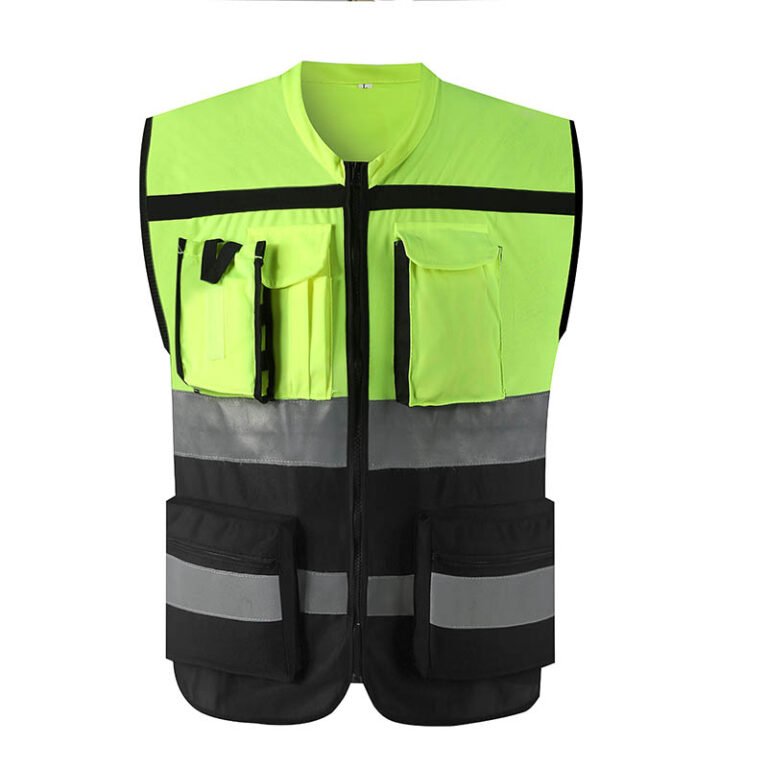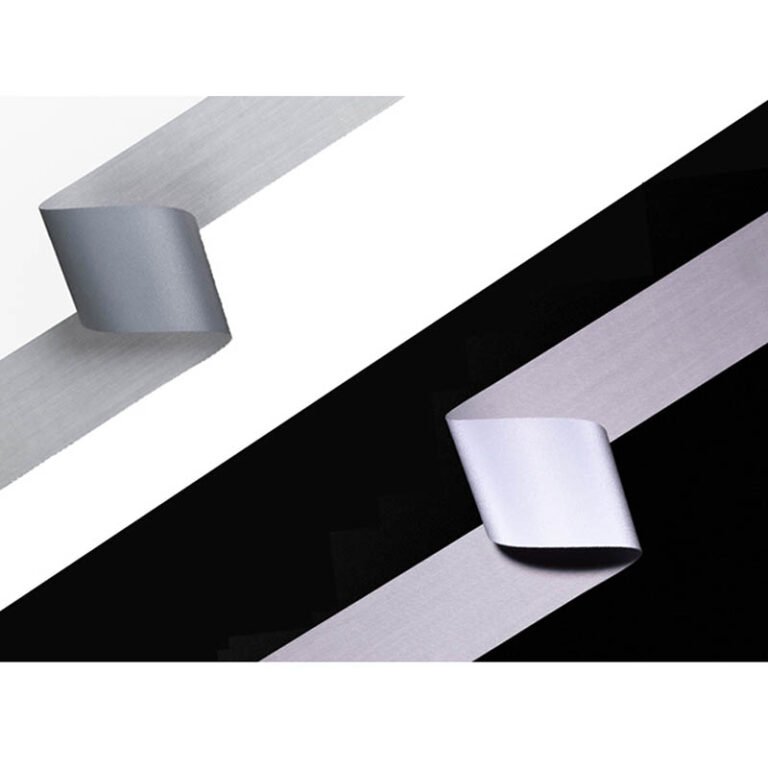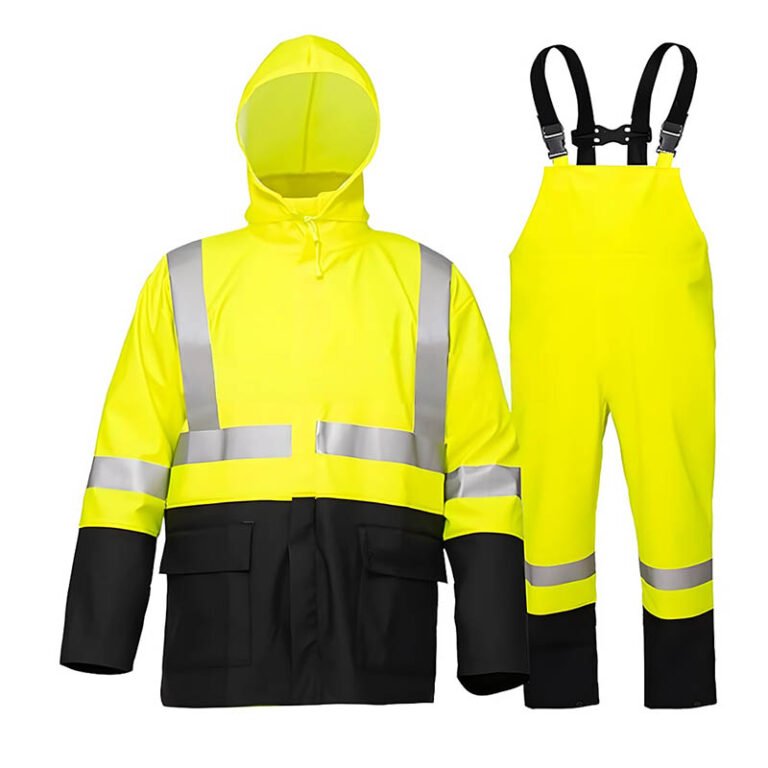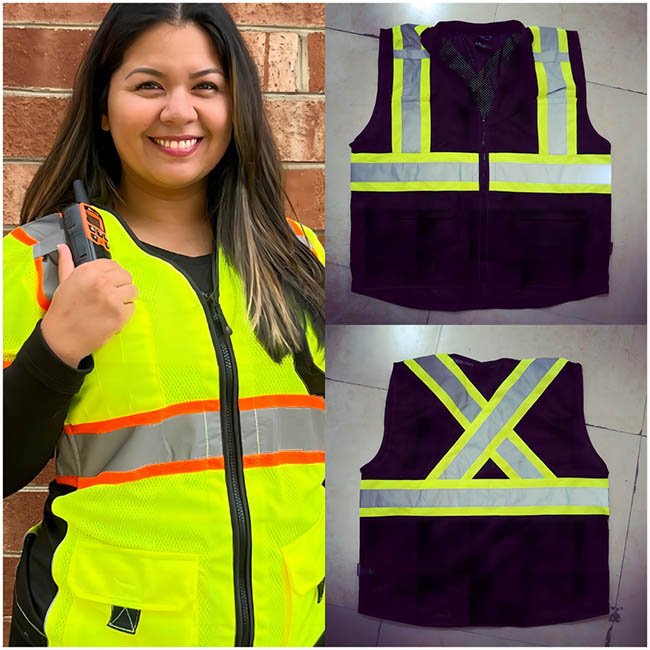
A production-ready reflective logo brief must answer more than “please print our logo in silver.” The buyer needs to identify the master artwork, finished dimensions, garment location, construction route, acceptable simplifications and the exact proof or sample that will be approved. This checklist helps a brand, distributor and apparel factory move from a design file to controlled production without assuming that every artwork file or reflective process behaves the same way.
1. Supply a controlled master file and reference
Ask the supplier which editable vector formats its workflow accepts. Common design handoffs may involve formats such as AI, EPS, SVG or editable PDF, but file extensions alone do not prove that the artwork is editable or production-ready. Confirm whether fonts, linked images, effects, masks, gradients and transparency need to be expanded, embedded or simplified. Preserve the original design source and provide an exported reference that shows the intended appearance.
Identify who may make technical adjustments. Do not allow an unrecorded “cleanup” to alter proportions, line weight, letter spacing or trademark details. If a process has minimum feature or spacing limits, ask the supplier to state those limits for the specific material and equipment. Avoid inventing one universal minimum stroke width.
| File item | Buyer action | Approval record |
|---|---|---|
| Editable master | Confirm accepted format, fonts, linked assets and color layers | Filename, revision and owner |
| Visual reference | Show approved appearance and intended color/finish | PDF or image tied to the revision |
| Production proof | Check actual dimensions, details and placement | Signed or dated proof/sample ID |
2. Specify finished dimensions and placement in measurable terms
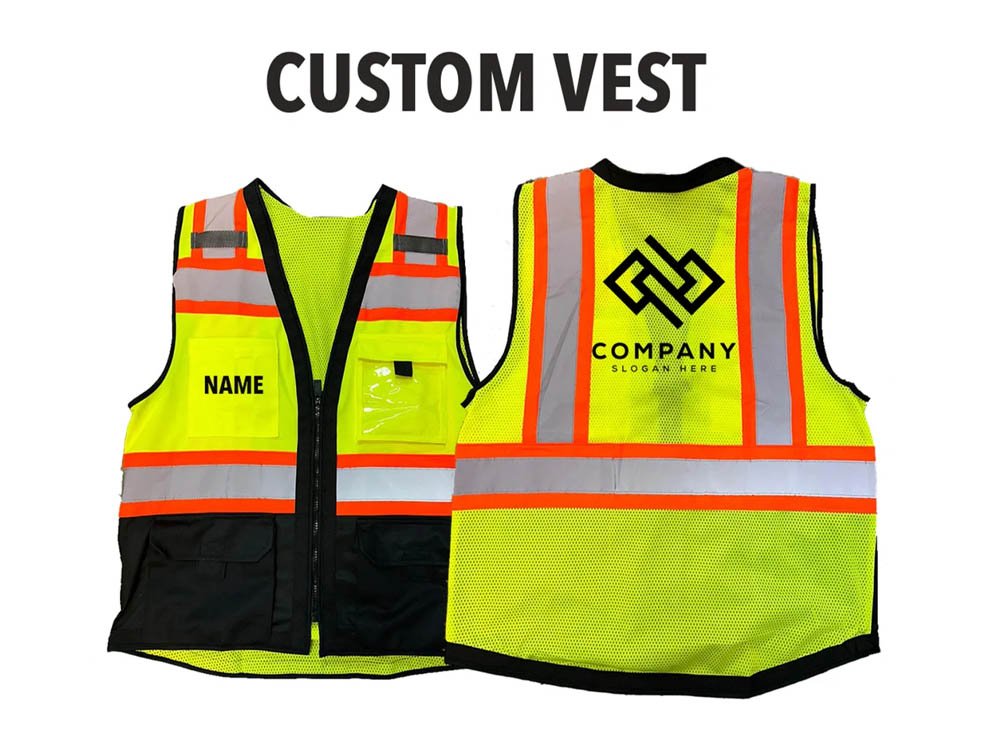
State the finished logo width and height in millimeters and whether its proportions are locked. Distinguish the visible artwork from any transfer margin, carrier sheet or backing. If one garment uses different logo sizes across sizes or panels, list every version rather than leaving grading to interpretation.
Place the mark on a front, back and side drawing as applicable. Define its reference points—for example, distance from a named seam or neckline—and show the measurement direction. A note such as “upper left chest” is not enough when pocket size, garment size, closure or seam geometry can shift the available area.
For a size range, review a small, middle and large garment or the sizes the project owner identifies as critical. Confirm that the logo remains in the approved location after grading and that it does not land across a pocket opening, zipper, seam or fold in some sizes.
3. Name the material and process, not just the color effect
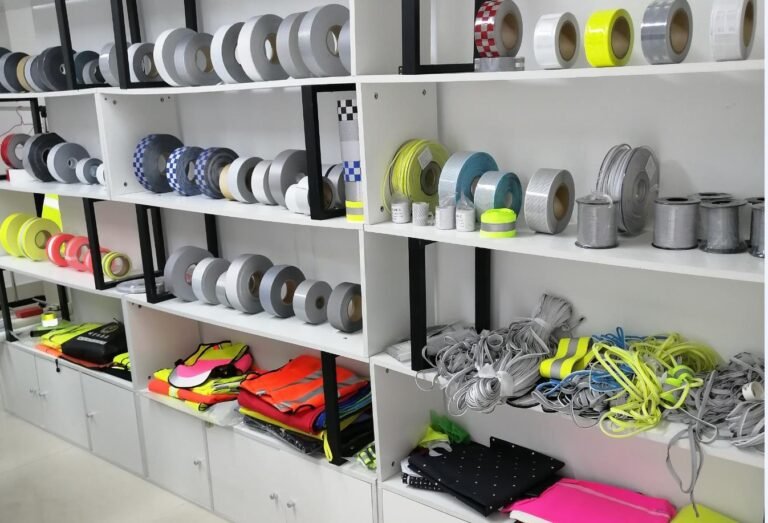
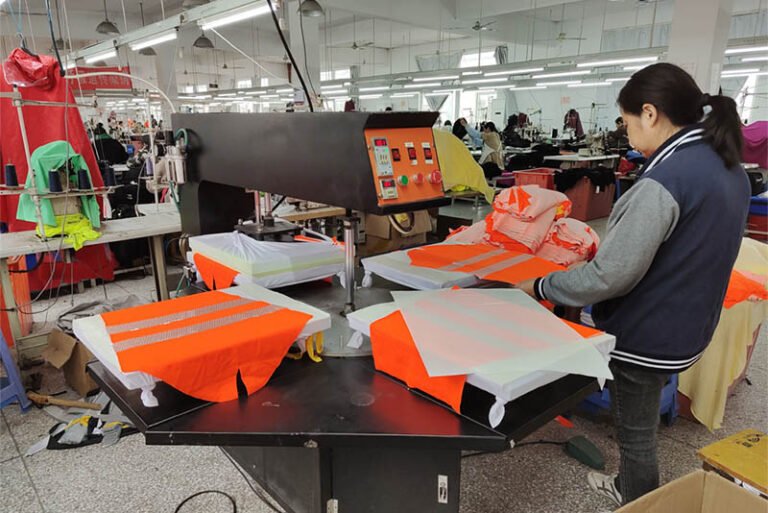
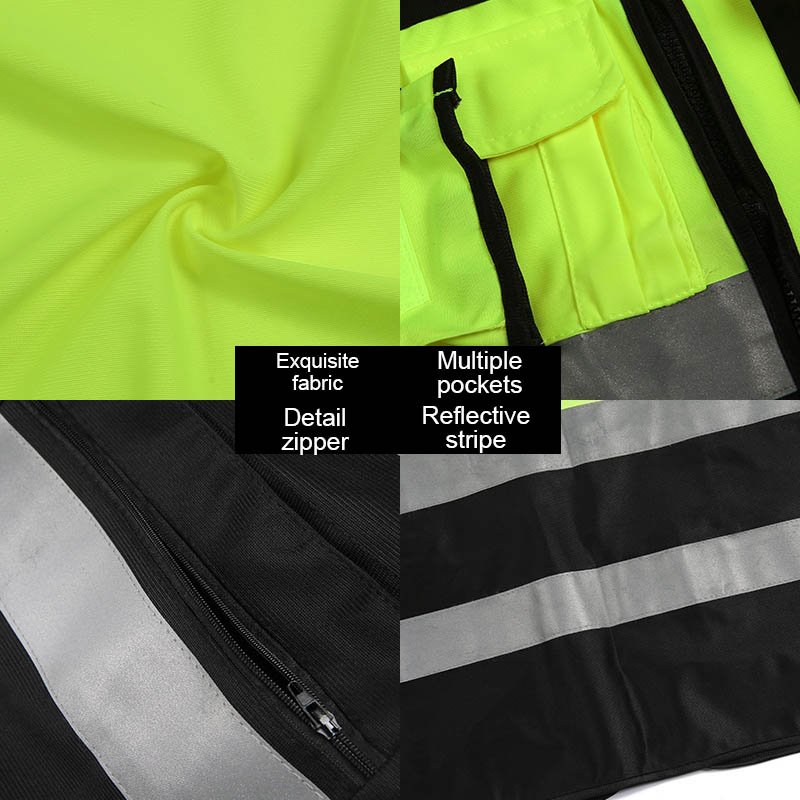
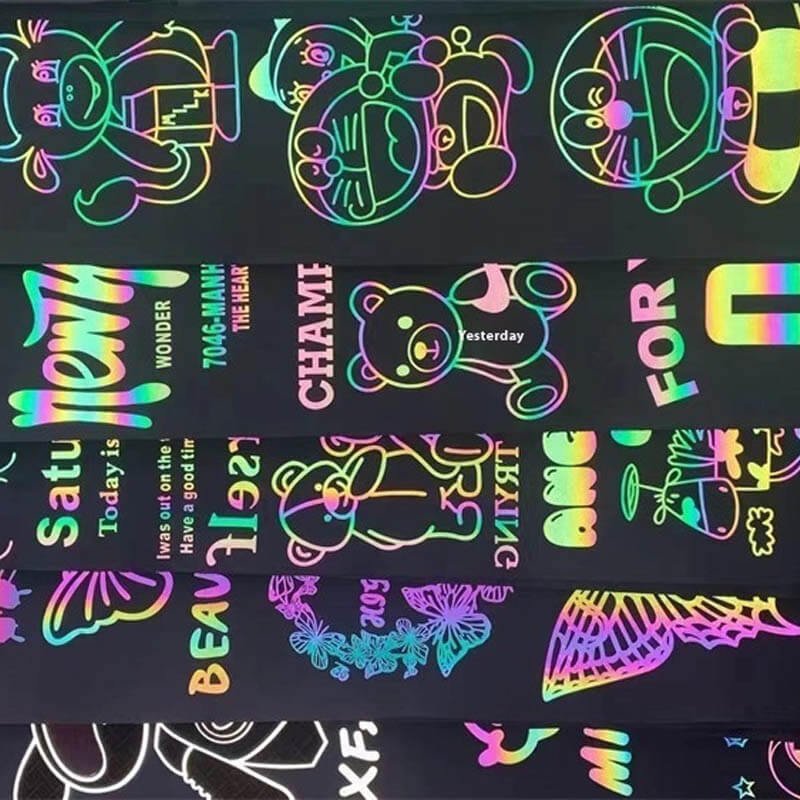
“Reflective silver” can describe a look, not a complete technical material. Identify whether the artwork is intended as a heat-transfer film, sewn patch, printed treatment or another construction, and ask for the exact product code and process instructions. If the project is still choosing a route, ask the supplier to propose options and state what each sample would validate.
Supply the garment fabric or an accurate specification, including its surface, finish and stretch if relevant. Ask whether the proposed logo material and application process have been evaluated on that substrate. Record the equipment and product-specific settings used for a trial; never copy settings from a different material code.
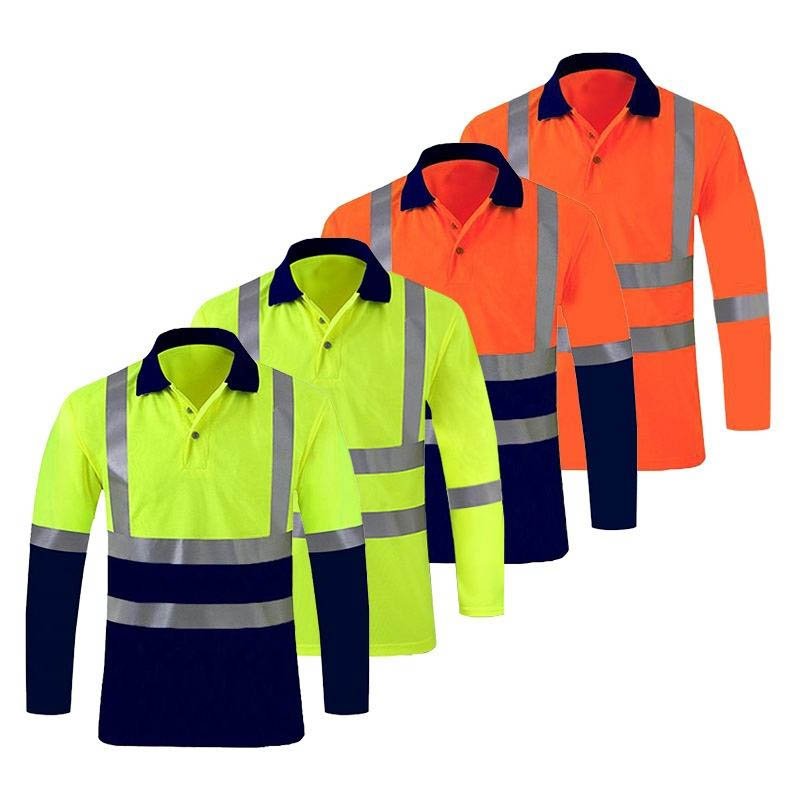
Separate branding approval from safety/compliance approval. A logo can be visually correct while still requiring a reviewer to check the finished garment design and applicable market requirements. CCOHS explains that logo or name-tag alterations depend on the relevant requirements and recommends checking the responsible authority when local rules do not clearly resolve them. [1]
4. Review a production-intent sample before approving artwork
Use a staged proof review: digital proof, material/shape sample where needed, then the logo applied to the actual garment or production fabric. The sample should show exact size, location, orientation, substrate and process. Review under normal viewing conditions for appearance and separately request any measurements or performance evidence required by the project.
- Check the mark against the master artwork and note every approved alteration.
- Measure the visible finished dimensions and placement from the drawing’s reference points.
- Inspect small text, counters, thin strokes, gaps and edges at the real garment scale.
- Check the application on the intended fabric, including nearby seams or pocket edges.
- Record reviewer, date, sample ID and disposition: approved, revise, retest or hold.
A screen mock-up is useful for composition but cannot show all physical effects of the material, substrate or garment curvature. Keep the approved sample with the production file so a later lot can be compared to the same reference.
5. Freeze the artwork, placement drawing and production instructions together
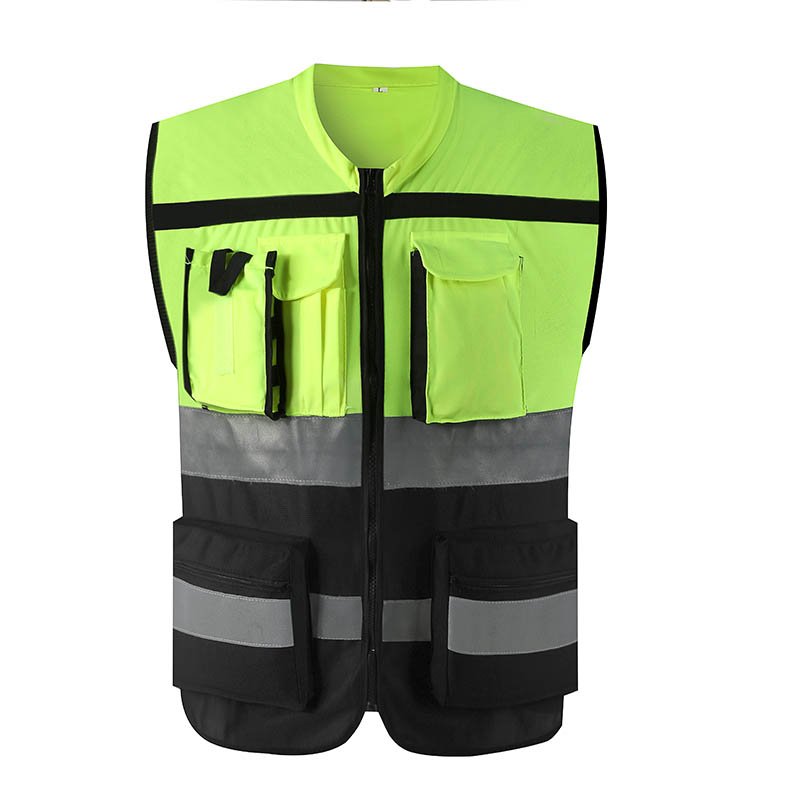
Put the artwork filename and revision on the purchase or development record. Link it to the garment model, size range, material code, process instruction and approved sample. When artwork changes, give the change a new revision and state whether only color changed or whether dimensions, placement or fine details changed too.
Define change triggers: revised logo, new substrate, moved pocket, different garment size range, changed reflective material, application-process change or artwork re-export. Require the supplier to pause before applying a changed version that has not been approved. When a brand submits a replacement logo after sample approval, repeat the design review for any affected locations or sizes.
6. Copy this artwork handover checklist
Attach the editable master, visual reference and garment drawing. Ask the supplier to mark any technical change rather than silently implementing it.
Garment/model and revision: [style / tech-pack version]
Master artwork: [filename / format / revision / owner]
Visual reference: [file / color and finish reference]
Finished dimensions: [width × height / locked proportions?]
Placement: [front/back/side drawing / landmarks]
Size versions: [sizes / grading rule / exceptions]
Logo construction: [film / patch / proposed method]
Substrate: [fabric code / finish / sample ID]
Fine-detail limits: [supplier-confirmed limits / open questions]
Evidence needed: [appearance / process / compliance review]
Approved sample: [ID / date / reviewer]
Change approval: [contact / written approval route]
Include the intended use and market so technical and compliance review can happen before decoration production. Do not describe a visual preference as a safety or performance claim.
Related buyer guide: For the garment-level sign-off that follows artwork review, see the pre-production sample approval guide.
Frequently Asked Questions
Can a screenshot be the only artwork file?
It can communicate appearance, but it is usually a poor production master. Ask the supplier for an accepted editable file and keep the screenshot/PDF as a visual reference.
Can the factory adjust the logo to fit?
Only after the buyer approves the proposed change. Ask the supplier to show the change on a measured proof and retain the approved revision.
Does a reflective logo prove a garment meets a visibility requirement?
No. The finished garment and its applicable requirements need review. Do not treat the material appearance or a logo as a substitute for the required design evidence.
Should one logo size be used across every garment size?
Not automatically. Review whether the project wants one fixed size or graded versions, and approve the result on representative garment sizes.
Prepare a Reflective Logo Brief
Review VizGlo’s reflective logo options and send the editable artwork, finished dimensions, garment drawing, fabric details and sample requirements together. For a complete garment program, see OEM/ODM development.
Discuss a logo sample